
To design a custom squishy toy, start with the squeeze you want and the features that make the shape recognizable. Add views, dimensions, colors and decoration so a manufacturer can assess the idea. Discuss construction and difficult features before committing to tooling: a drawing can communicate your design, but it cannot confirm how the finished soft toy will feel.
You can begin with a sketch and a clear description of the result you want. Decide which features matter to your brand, which can change, and what you need to learn from the first sample.
Decide what the toy should feel like
“Make it soft” leaves several decisions open. Separate squeeze resistance, recovery behavior and surface feel. Should the main body compress easily or offer more resistance? Should it recover quickly or gradually? What should the surface feel like in the hand?
A labeled physical reference can make that conversation clearer. You might like one reference’s recovery but prefer another’s surface feel. Describe those qualities and ask the manufacturer to assess them for the proposed construction. There is no need to guess an unknown reference toy’s formula.
Shape and filling also need separate descriptions. Our dinosaur squishy has two listed filling options sharing the same pictured shape. Appearance alone does not define the squeeze, and those options should not be assumed available for every custom design.
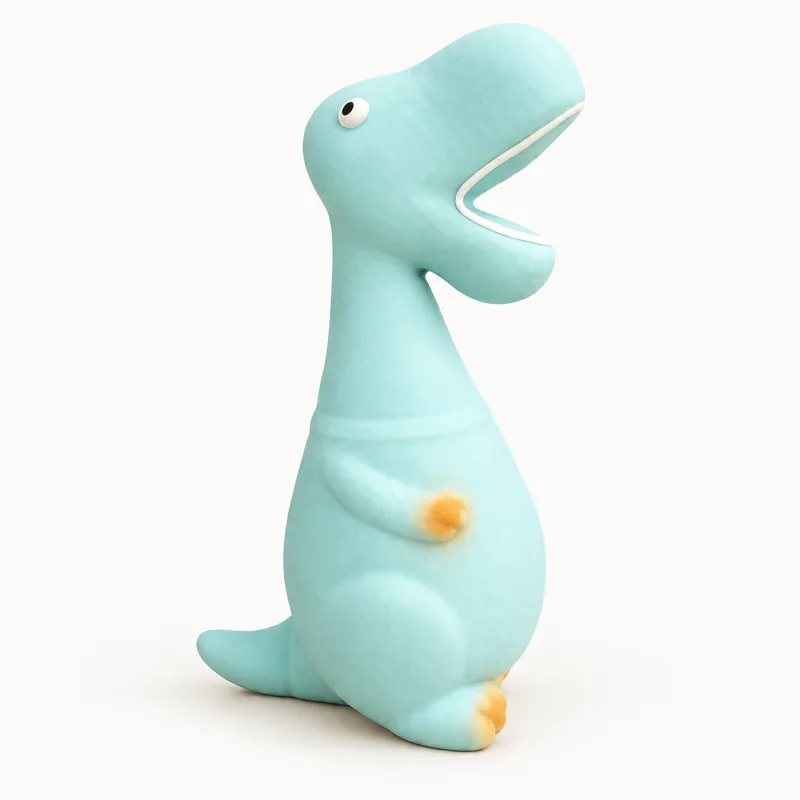
Show the shape from more than one side
A front drawing can capture a character’s expression while leaving its depth uncertain. Add side and back views to show the belly, head, limbs and other proportions. Clear sketches give the discussion a starting point; ask what further modeling the manufacturer needs.
Mark overall height, width and depth in consistent units. Identify the measurement endpoints, especially where ears, horns or a tail extend beyond the main body. Height to the top of the head and height to the ear tips are different measurements.
A short design note can resolve several questions. For example, this hypothetical mascot brief uses an illustrative size:
Target height: 90 mm, including the ears. The marked belly is the main squeeze area. Use reference A for the desired recovery behavior. The ears must remain recognizable, but their base and pose can be reviewed for the proposed construction.
Keep the character recognizable when details need changing
For a long-eared mascot, the ears may be essential while a tiny accessory or deep facial recess may be negotiable. Naming that distinction gives the manufacturer room to propose changes while keeping the features that matter.
Thin projections, deep recesses and difficult mold-release features deserve an early discussion. An undercut is a recess or overhang that can obstruct release from a mold. Protolabs’ liquid silicone rubber design guidelines assess undercuts case by case; their dimensions and process capabilities are not universal squishy specifications.
For the mascot’s ears, alternatives might include a wider base, a shorter projection or a different pose. These are options to assess, not guarantees against damage. Ask where the mold halves would meet and, for a filled shell, where the filling opening or closure would sit. A silhouette does not tell you whether the proposed toy is solid, hollow or filled.
Make color and artwork requirements clear
Show the intended body colors and mark the face and logo position on the views. Include target graphic dimensions so that “small logo” has a clear meaning. Branding on the packaging is a separate choice from branding on the toy.
Digital artwork communicates intent, but screen color does not prove the attainable appearance on the finished material. Pantone’s guidance on physical color samples explains the value of a current physical reference when evaluating whether a digital color can be achieved on a physical product.
Provide editable vector artwork when available and ask which formats the selected manufacturer accepts. Vector artwork conveys graphics; a three-dimensional model conveys geometry. If you only have a sketch, establish who develops the model and what you will approve. Ask which decoration method suits the material and curved surface. A legible logo in a rendering still needs evaluation on the squeezed soft sample.
Know what each design stage can establish
A drawing, a model and a sample answer different questions. Agree on the purpose of the next version before paying for it.
| Design stage | What it helps you assess |
|---|---|
| Drawing | The intended character, views, dimensions, colors and graphic placement. |
| Three-dimensional model | Geometry, depth and relationships between features. |
| Rigid shape prototype | Physical size and proportions. |
| Finished soft sample | The actual squeeze, surface feel, recovery and decorated appearance of that sample. |
A rigid prototype may reveal that the head is too large or the body too shallow. It cannot demonstrate the finished squishy’s softness or recovery. Agree on sample arrangements and what each sample represents for your project.
Agree on the version before tooling
Before authorizing tooling, request an agreed view or model with dimensions and proposed changes identified. Give each revision a clear name and resolve conflicting measurements. Ask what a change at this stage would affect; charges, included revisions and the sequence vary by project.
A later change to geometry, construction or decoration may require further sample review. Reserve space for the intended package and confirm fit with the packed sample. Include intended users and the destination market in the initial discussion: design approval or an informal squeeze comparison does not establish safety or compliance. The sample approval checklist covers the next acceptance stage.
Once the design direction is clear, use the bulk inquiry guide to add quantities and delivery details. To discuss your custom bulk project, send your reference, essential features, desired squeeze, intended quantity and destination. Bulk Squishy Toys handles custom wholesale inquiries. Ask us to confirm the available shape, construction, decoration and sample terms for your proposed project.

